
The Ultimate Guide to Designing, Producing, and Selling Enamel Pins
Dive into the world of enamel pins with this comprehensive guide—covering everything from finding design inspiration and choosing materials to preparing files for production and building a successful brand. Whether you're an artist, entrepreneur, or collector, this guide equips you with the knowledge to create pins that truly stand out.
William
6/19/20254 min read
Introduction to Enamel Pins
Enamel pins have become a vibrant and beloved accessory, captivating collectors, fashion enthusiasts, and brands alike. Originating in the late 18th century, these pins were initially used to signify status, affiliation, or artistic expression—especially among military and organizational groups. Over time, their purpose evolved beyond function, transforming into trendy fashion items and cherished collectibles that reflect individuality and personal style.
There are two main types of enamel pins: soft enamel and hard enamel.
Soft enamel pins feature raised metal outlines with recessed, colorful enamel fillings. This creates a textured surface and allows for bold, eye-catching color combinations.
Hard enamel pins, by contrast, are polished smooth after the enamel is applied and baked at high temperatures. This process results in a sleek, durable, and refined finish, making them a favorite for designs requiring a premium look.
What drives the popularity of enamel pins is their versatility and personal connection. Artists use them as creative canvases; fans wear them to display passions or affiliations; and businesses utilize them as effective branding tools. Their compact size, customization potential, and collectability make them a meaningful and accessible form of self-expression.
Finding Inspiration for Your Pin Design
Designing enamel pins is a fulfilling creative pursuit—but inspiration is key. Fortunately, ideas can be drawn from a wide range of sources:
Nature: From the patterns on animal fur to the colors of a sunset, the natural world offers endless inspiration. Look closely at textures, colors, and forms in flora and fauna to spark creative concepts.
Pop Culture: Movies, music, video games, fashion, and iconic quotes can connect your designs to shared experiences. Referencing beloved characters or trends can create emotional resonance with a wide audience.
Social Causes & Personal Stories: Enamel pins can be more than just pretty—they can make statements. Designing pins that promote causes or express personal values can give your work depth and purpose.
To help develop your concept:
Use mood boards (Pinterest, Instagram collections, etc.) to organize your visual inspirations.
Consider your unique artistic style as a way to distinguish your designs from the crowd.
By blending external influences with your personal voice, you’ll create enamel pins that are both meaningful and marketable.
Sketching Your Design
The first step in bringing your enamel pin idea to life is sketching. This stage helps solidify your vision and lay the foundation for a strong final product.
Keep it Simple: Because of the small size of pins, complex details may be lost. Focus on bold shapes and clean lines.
Use a Grid: This ensures balance and proportion, helping every element work in harmony.
Limit Fine Details: Small text or overly intricate elements might not translate well in production.
Color is another key consideration. Plan your palette early, keeping in mind how different hues interact emotionally and visually. Choose colors that align with the theme and mood of your design.
For sketching tools:
Digital software like Procreate, Adobe Illustrator, or Affinity Designer is ideal for precision, easy edits, and converting your work into vector format.
If you prefer analog methods, use high-quality paper and pens for clean sketches that can be scanned later.
Don’t be afraid to iterate. Great designs often go through several versions before reaching their final form.
Choosing Colors and Materials
Both color and material choices are critical to the appeal and success of your enamel pin.
Color Strategy
Using color theory helps evoke the right emotions:
Blue = trust and calm
Red = energy and passion
Green = nature and growth
Choose colors that align with your message or brand.
To ensure consistency across production, use the Pantone Matching System (PMS). This allows for precise color replication, especially when working with manufacturers.
Also consider color combinations:
Complementary colors (opposites on the color wheel) for contrast and pop.
Analogous colors (next to each other) for harmony and subtlety.
Material Selection
Base Metals: Zinc alloy (cost-effective), brass (great for fine details), or stainless steel (durable and corrosion-resistant).
Plating Finishes: Choose from gold, silver, black nickel, antique finishes, and more.
Protective Coating: Epoxy can be added for a glossy finish and extra protection.
Your decisions should balance aesthetics, durability, cost, and target audience expectations.
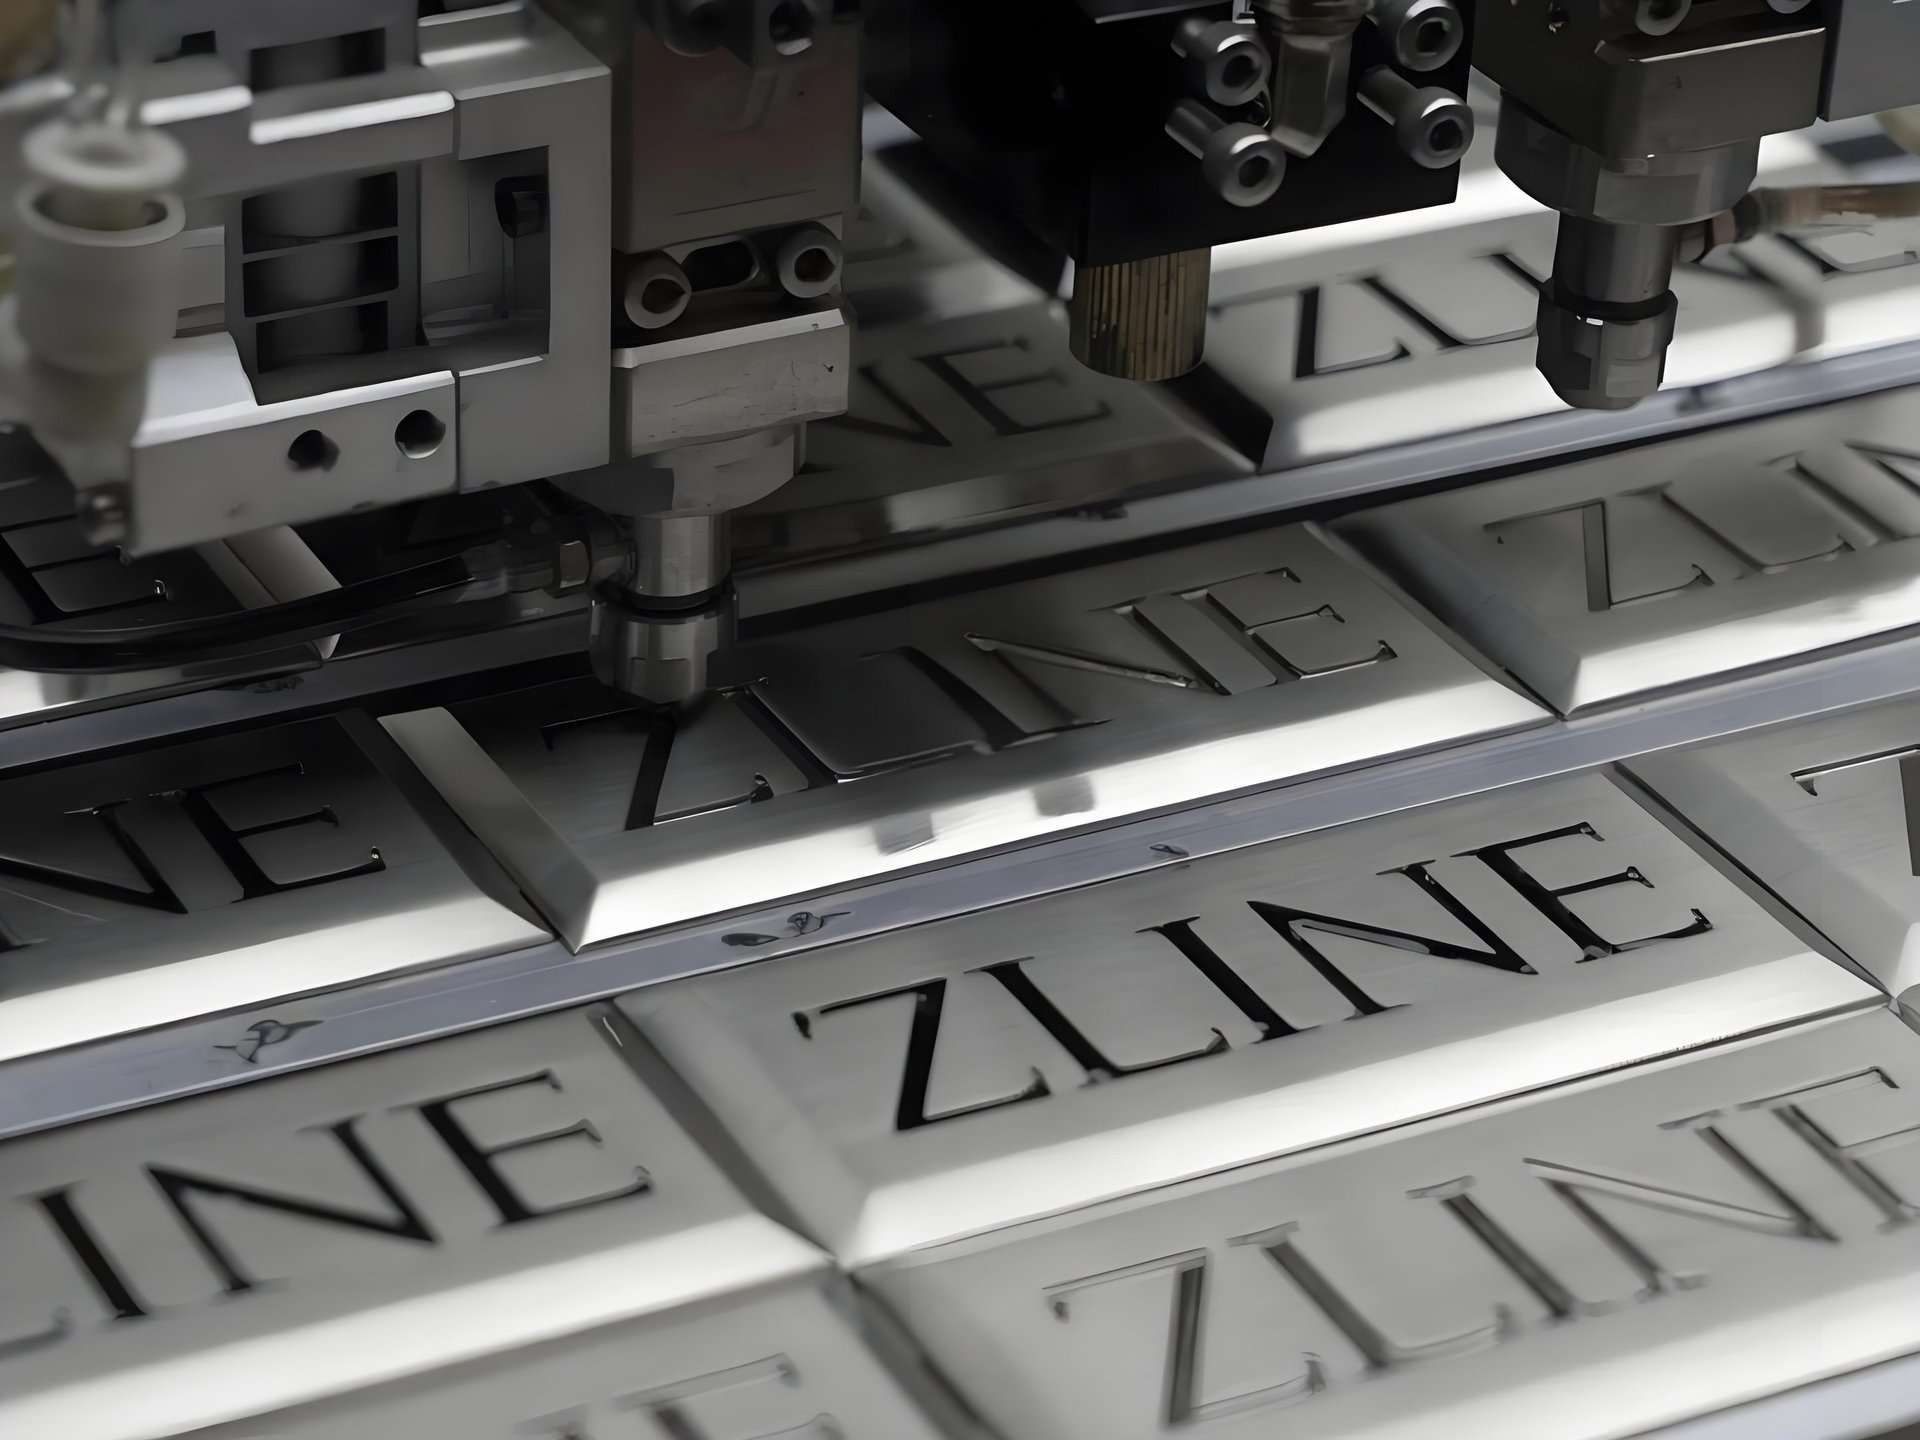
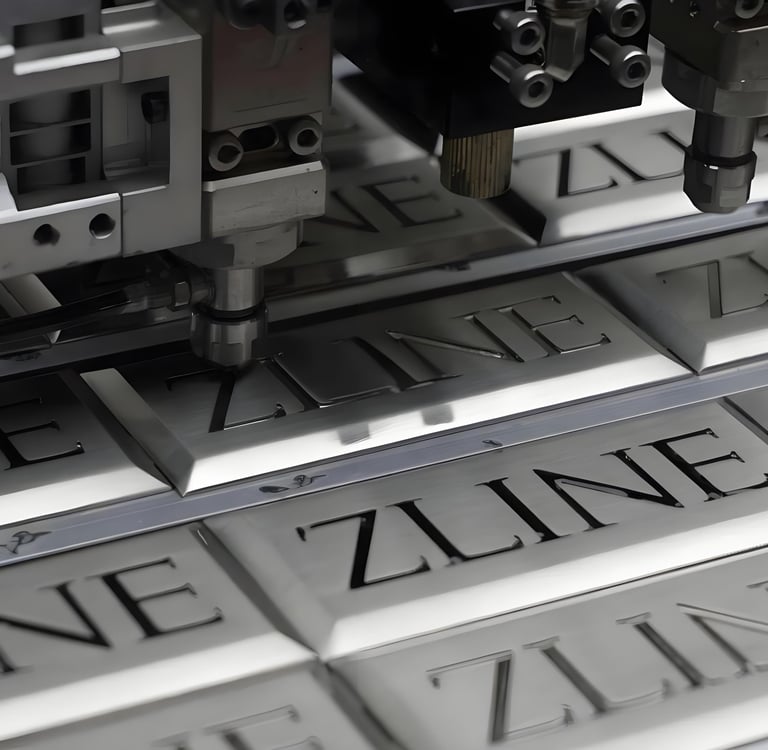
Preparing Your Design for Production
Once your design is finalized, it’s time to prepare for manufacturing.
1. Create Vector Files
Vector formats (usually .AI or .EPS) are essential for production—they ensure scalability and precision. Use Adobe Illustrator or compatible software.
2. Define Specifications
Include:
Pin dimensions (usually 1" to 1.5")
Enamel type (hard or soft)
Metal finish
Color codes (Pantone)
Backing style (rubber clutch, butterfly clasp, etc.)
Most manufacturers provide design templates—use them to avoid misalignment or production issues.
3. Communicate with Manufacturers
Discuss production timelines, plating options, and mold fees. Ask questions. Clarity now prevents problems later.
4. Request Proofs and Samples
Digital proof: A mockup showing how the pin will look.
Pre-production sample: A real version for final review before mass production.
This step lets you verify details and make last-minute adjustments if needed.
Marketing and Selling Your Enamel Pins
Once your pins are produced, it’s time to share them with the world.
1. Set Up an Online Store
Use platforms like:
Etsy – popular among collectors and creators
Shopify – for a branded storefront
Your own website – gives you full control
Ensure your site is:
Visually appealing
Mobile-friendly
Easy to navigate
2. Use Social Media Strategically
Instagram, Pinterest, and TikTok are ideal for showcasing enamel pins.
Post engaging photos and videos
Use relevant hashtags
Share behind-the-scenes content
Collaborate with influencers
3. Build a Cohesive Brand
Your name, logo, packaging, and tone of voice should all reflect your style and values. Branding builds trust and customer loyalty.
4. Pricing & Packaging
Price fairly—account for production costs, time, and market value.
Creative packaging (backing cards, branded envelopes, or eco-friendly materials) can elevate the unboxing experience.
5. Engage with Customers
Encourage reviews and user-generated content
Run giveaways or contests
Offer limited-edition releases to build hype
Happy customers become your best marketers.
Expanding Your Enamel Pin Collection
For both creators and collectors, expanding your collection can be a fun and strategic process.
Follow Trends
Stay up to date with current styles, themes, or pop culture references. Themed series—like celestial designs, pet pins, or mental health messages—resonate with niche communities.
Collaborate with Other Creators
Partnering with fellow artists can:
Create limited-edition hype
Introduce your work to new audiences
Blend styles in exciting ways
Experiment and Innovate
Try:
Glow-in-the-dark enamel
Moving parts (sliders or spinners)
Layered designs
Textured or glitter finishes
Innovation keeps your collection—and your brand—fresh.
Engage with the Community
Attend pin conventions and craft fairs
Join online groups and forums
Trade with other collectors
Building relationships within the enamel pin community leads to new opportunities, inspiration, and long-term success.
Partners
Supporting creators with quality production and delivery.
Collaboration
About Us
© 2026 Raoin Manufacturing — Sourcing from China, simplified.
Your global partner for custom merchandise & branded products.
Enamel Pin Maker
📧 hello@raoin.com | 🌍 Raoin Manufacturing